Table of Contents
ToggleCreating a <a href="https://thefolkremedy.com/backyard-hangout-ideas/”>backyard patio doesn’t require draining savings or taking out a home equity loan. Many homeowners skip outdoor upgrades because they assume quality flooring starts at $15–$20 per square foot installed. The reality? Savvy material choices and a willingness to get hands dirty can deliver a finished patio for a fraction of that cost, often under $5 per square foot. These budget-friendly options don’t just save money: they offer flexibility, faster installation, and the satisfaction of a true DIY build. Whether working with a compact 10×10 slab or a sprawling 400-square-foot entertaining zone, affordable doesn’t mean flimsy or ugly.
Key Takeaways
- Budget patio flooring can be installed for under $5 per square foot using cheap patio floor ideas like gravel, pavers, or reclaimed materials, eliminating the need for expensive professional contractors.
- DIY-friendly installation methods save 50–60% on labor costs, as most affordable patio floors require only basic tools like a shovel, level, and tamper rather than specialty equipment.
- Gravel and pea gravel offer the fastest and cheapest solution at $1.50–$3 per square foot with instant drainage, while concrete pavers and reclaimed brick provide more permanent, attractive options at $3–$10 per square foot.
- Proper base preparation—including landscape fabric, compacted gravel, and sand layers—is critical to prevent settling, shifting, and long-term damage regardless of which cheap patio floor option you choose.
- Reversible materials like deck tiles and wood pallets let renters and homeowners test layouts or refresh outdoor spaces affordably, with the option to upgrade to permanent flooring later.
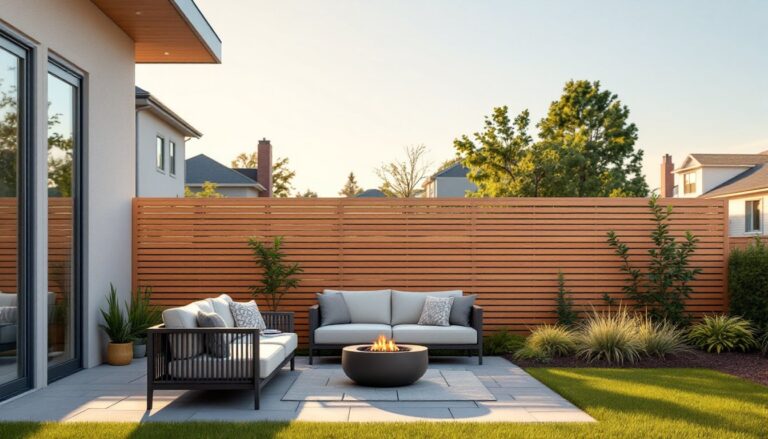
Why Choose Affordable Patio Flooring?
Budget patio flooring isn’t just about cutting costs, it’s about getting the project done. Premium pavers, natural stone, and porcelain tile installations often sit on wish lists for years while homeowners wait for the “right time.” Meanwhile, the backyard stays underutilized.
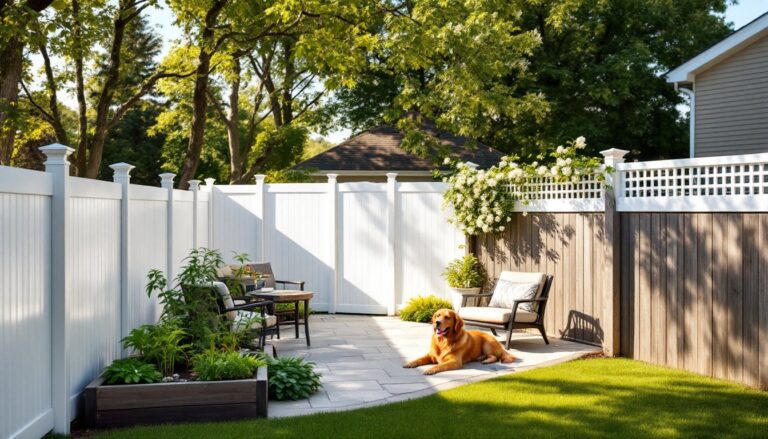
Affordable options let homeowners build now and iterate later. A gravel or paver patio can be expanded, refreshed, or even removed without major demolition. These materials also suit renters or those planning to move within a few years, since many low-cost floors are semi-permanent and won’t trigger permit requirements in most jurisdictions.
Another advantage: DIY-friendly installation. Most budget flooring doesn’t require specialty tools, concrete mixing, or hiring a crew. A weekend warrior with a shovel, level, and tamper can handle the bulk of the work. That sweat equity translates directly into savings, labor often accounts for 50–60% of professional patio installation quotes.
Finally, these materials perform. Gravel drains fast, pavers handle freeze-thaw cycles, and concrete takes decades to wear out. The “cheap” label refers to upfront cost, not longevity.
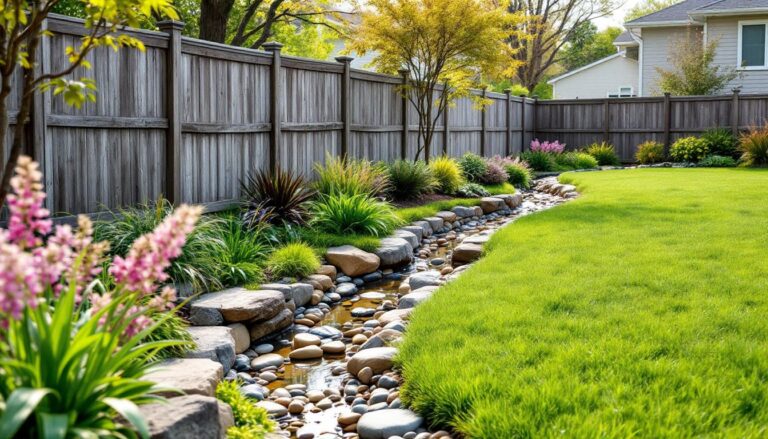
Gravel and Pea Gravel: The Easiest Low-Cost Solution
Gravel is the entry-level patio floor, and there’s no shame in that. A well-executed gravel patio costs $1.50–$3 per square foot for materials, including landscape fabric, edging, and the gravel itself. Pea gravel (smooth, ¼- to ½-inch stones) is the most popular choice for patios because it’s comfortable underfoot and compacts reasonably well.
Installation is straightforward. Excavate 3–4 inches, lay landscape fabric to suppress weeds, install edge restraints (plastic, metal, or treated lumber), and spread 2–3 inches of gravel. Compact with a hand tamper or plate compactor (rent one for $50–$75/day if handheld tamping isn’t cutting it). Designers using pea gravel in outdoor spaces achieve surprisingly upscale looks with strategic borders and plantings.
The downsides: gravel shifts underfoot, doesn’t support furniture legs well (use furniture pads or pavers under chair legs), and requires occasional raking to stay level. It also migrates into the lawn and house, so plan for regular edging maintenance.
Crushed stone (angular, ¾-inch minus) compacts tighter than pea gravel and works better under tables and chairs, but it’s less comfortable barefoot. For a rustic backyard hangout, gravel delivers fast, functional flooring that drains instantly and never cracks.
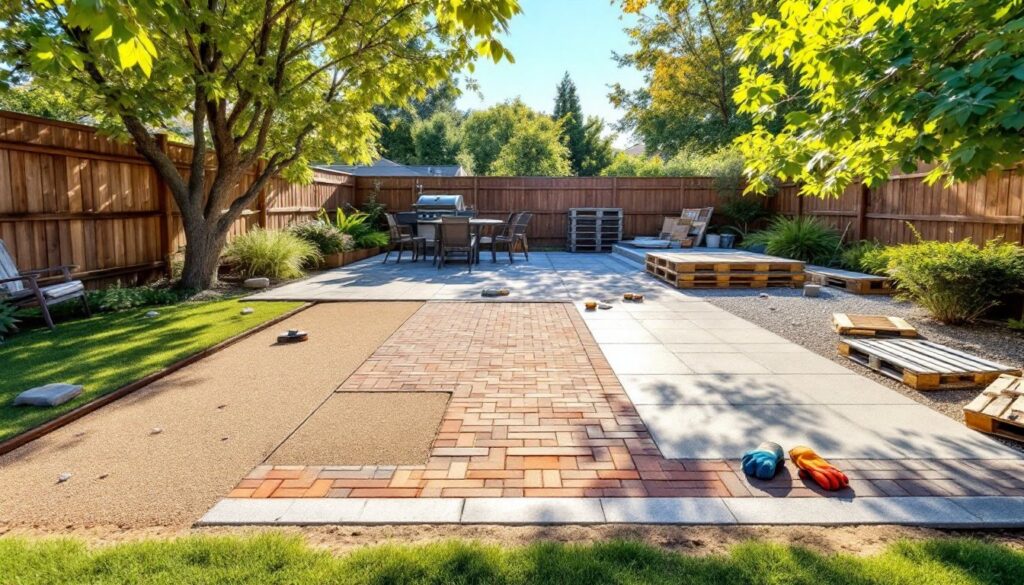
Concrete Pavers on a Budget
Concrete pavers offer the look of a finished patio without the cost or permanence of poured concrete. Basic 4×8-inch or 12×12-inch pavers run $1–$2 each at big-box stores, translating to roughly $3–$5 per square foot depending on pattern and cuts. A 120-square-foot patio might need 180–200 pavers, plus sand and base material.
The layering matters. Excavate 6–8 inches, add 4 inches of compacted gravel base (¾-inch crushed stone), then 1 inch of coarse sand (concrete sand, not play sand). Screed the sand level using a straight 2×4, lay pavers in your chosen pattern, and sweep polymeric sand into the joints. Polymeric sand hardens when wetted, locking pavers in place and resisting weeds.
Skip the polymeric sand to save $30–$50, but expect more weed growth and shifting over time. Always compact the base in 2-inch lifts, skipping this step causes settling and uneven pavers within a season.
Patterns like running bond, herringbone, and basketweave add visual interest without extra cost, just more cuts. Rent a wet tile saw ($40–$60/day) or use a circular saw with a masonry blade for cuts. Wear safety goggles and a dust mask, concrete dust is nasty.
Concrete pavers handle foot traffic and most climates well, though cheaper units can spall (flake) in harsh freeze-thaw zones. They’re also modular, so replacements or expansions are simple.
Repurposed Brick and Reclaimed Materials
Reclaimed brick brings character and history to a patio, often for less than new pavers. Salvage yards, Craigslist, and demolition sites offer used brick for $0.50–$1.50 per brick. A patio might need 5–7 bricks per square foot depending on size and layout, putting material cost around $2.50–$10 per square foot.
Not all brick works outdoors. Avoid indoor-only or soft kiln bricks, they absorb water and crumble in freeze-thaw cycles. Look for hard-fired paving brick or street brick stamped “SW” (severe weathering). If the brick has mortar stuck to it, budget time for cleaning with a hammer and chisel or a pressure washer.
Installation mirrors concrete pavers: compacted gravel base, sand bed, laid brick, and swept joints. Reclaimed brick varies in thickness, so expect extra time leveling. Some installers set reclaimed brick in a 1-inch mortar bed over a concrete slab for a more permanent, level surface, but that adds cost and complexity.
Other reclaimed options include broken concrete (urbanite), natural stone offcuts, and salvaged slate. Urbanite, chunks of old sidewalk or patio, costs nearly nothing (sometimes free from demo projects) and creates a mosaic-style patio with wide, planted joints. It’s heavy, irregular, and time-consuming to fit, but the material cost is unbeatable.
Always clean reclaimed materials and inspect for structural integrity before installing. When planning a larger backyard entertaining area, reclaimed materials add instant age and texture that new products can’t match.
DIY Stained or Stamped Concrete
A poured concrete slab is one of the most durable, low-maintenance patio floors available, and DIY finishing techniques keep it affordable. A basic 4-inch slab costs $4–$8 per square foot for materials (concrete, rebar or mesh, forms, and stakes). That’s competitive with pavers once base prep is factored in.
Formwork and prep are critical. Build forms from 2×4 or 2×6 lumber, stake every 2–3 feet, and ensure they’re level and square. Excavate, compact 4 inches of gravel base, and lay 6×6 W1.4×W1.4 welded wire mesh or #4 rebar grid (12-inch spacing) for reinforcement. Concrete without reinforcement cracks.
Concrete staining transforms a plain slab. Acid stains ($30–$50/gallon, covers 200–400 sq. ft.) react with the concrete to create variegated, permanent color. Water-based stains offer more color options and are easier to apply but may fade faster. Both require a concrete sealer ($40–$60/gallon) for protection.
Stamping mimics stone, slate, or tile patterns using rented rubber mats pressed into wet concrete. Stamp rentals run $50–$150/day, and the technique requires good timing, stamp when the concrete is firm enough to hold the pattern but soft enough to accept it. Practice on a small test pour first. Add integral color ($5–$10 per bag of mix) and a release agent ($30–$50) to prevent sticking.
Pouring concrete is physically demanding and time-sensitive. Rent a power mixer or order ready-mix (minimum delivery charges apply, often 1–2 cubic yards). A crew of two or three people is essential for anything over 100 square feet. If the slab will support a roof or heavy structure, check local codes, many jurisdictions require permits and inspections for concrete work.
Finishing concrete yourself, especially staining or stamping, can create a custom look for a fraction of professional costs, but it’s not beginner-friendly. Mistakes are expensive to fix.
Wood Pallets and Deck Tiles for Rustic Charm
Heat-treated wood pallets (stamped “HT,” not “MB” which indicates toxic methyl bromide treatment) can become patio flooring for almost nothing. Pallets are often free from warehouses, garden centers, and industrial sites. A 10×10 patio might need 10–12 pallets, depending on how they’re arranged.
Disassemble pallets carefully, pull nails, sand rough edges with an orbital sander (80-grit), and treat with a deck stain or sealer ($25–$40/gallon, covers 200–400 sq. ft.). Lay pallets directly on compacted gravel or a landscape fabric base. Some builders leave pallets whole and arrange them in a grid: others pull the deck boards and rebuild as a continuous floor.
Wood in ground contact rots, period. Even treated lumber degrades. Pallets might last 3–5 years before needing replacement, less in wet climates. They’re a temporary or experimental solution, not a decade-long install. Elevate pallets slightly with gravel or pavers underneath to promote airflow and slow rot.
Interlocking deck tiles, snap-together squares of composite, wood, or plastic, cost $3–$10 per square foot and install in minutes over any flat surface (concrete, compacted soil, or old decking). They’re ideal for renters or anyone wanting a reversible upgrade. Quality varies wildly: cheap tiles warp and fade within a year, while better composite options last 5–10 years. Many outdoor living guides on home improvement platforms recommend deck tiles for quick patio refreshes.
Both pallets and deck tiles suit outdoor entertaining spaces where aesthetics and function matter more than permanence. They’re fast, affordable, and replaceable, perfect for testing layouts or bridging the gap until a permanent floor gets installed.
Conclusion
Building a budget patio floor is less about settling and more about smart trade-offs. Gravel drains like a champ but shifts underfoot. Pavers look sharp and last years but demand careful base prep. Reclaimed brick and concrete add character at bargain prices, while pallets and deck tiles deliver instant results for minimal investment. None of these options require a contractor’s license or a four-figure budget, just a willingness to prep, measure, and get the details right. The backyard’s waiting.