Table of Contents
ToggleNothing ruins a peaceful afternoon on the deck like feeling your neighbor’s gaze from their kitchen window. Whether someone’s hosting a pool party, working from a backyard office, or simply wants to lounge without an audience, privacy screens solve one of the most common complaints homeowners have about their outdoor spaces. They’re not just about blocking sightlines, they buffer noise, define zones, and add vertical interest to flat yards. From living hedges to slatted panels, the right screen can turn an exposed patio into a secluded retreat without the cost or permanence of a solid fence.
Key Takeaways
- Backyard privacy screens serve multiple functions beyond blocking views—they reduce noise, buffer wind, define zones, and increase property value in dense neighborhoods.
- Popular privacy screen options range from living hedges (3–5 years to mature) and trellises to wood panels, metal screens, and composite materials, each with distinct cost and maintenance trade-offs.
- Successful backyard privacy screen installation requires checking local zoning codes, measuring the area, considering sun and wind patterns, and budgeting $15–$150+ per linear foot depending on materials and labor.
- DIY wood slat screens demand proper post installation at least one-third the post height underground, concrete footings, and exterior-rated hardware, while professional help is recommended for screens over 6 feet or near property lines.
- Freestanding privacy screens offer flexibility for renters and homeowners avoiding permanent structures, often requiring no permits while delivering the same functional and aesthetic benefits as traditional fences.
Why Backyard Privacy Screens Are Essential for Modern Homeowners
Backyards are getting smaller, and homes are getting closer together. In suburban subdivisions with 10-foot setbacks, outdoor privacy isn’t a luxury, it’s a necessity. Privacy screens create usable space where homeowners previously avoided sitting because they felt too exposed.
Beyond the obvious benefit of blocking views, screens serve multiple practical functions. They reduce wind gusts on patios, making outdoor dining more comfortable. They muffle street noise and neighbor conversations, which matters when someone’s trying to work outside or host a conversation over dinner. Screens also define zones, separating a hot tub area from a play space, or creating a backdrop for container gardens.
Property values benefit, too. Outdoor living spaces with defined privacy consistently rank higher in buyer surveys, especially in dense neighborhoods. A well-installed screen system adds curb appeal without the harsh, fortified look of a tall privacy fence. It signals that the homeowner has invested in making the yard functional, not just decorative.
For renters or anyone avoiding permanent structures, freestanding screens offer flexibility. They don’t require permits in most jurisdictions (though it’s always smart to verify local zoning rules about height and setback). Screens can move with the sun, adapt to seasonal use, or relocate entirely when someone changes homes.
Types of Privacy Screens for Every Backyard Style
Choosing a privacy screen starts with understanding the available categories. Each type has trade-offs in cost, maintenance, installation complexity, and how quickly it delivers privacy.
Natural and Living Privacy Solutions
Hedge walls are the classic choice for a reason. Evergreens like arborvitae, skip laurel, or Leyland cypress provide year-round coverage. Expect to plant 3- to 5-gallon specimens spaced 3 to 4 feet apart for a solid screen within three to five years. Faster isn’t always better, rapid growers like bamboo (especially running varieties) can become invasive nightmares without root barriers.
Living walls and vertical gardens work in tight spaces where planting in the ground isn’t an option. Modular systems with built-in irrigation attach to fences or freestanding frames, supporting everything from ferns to succulents. These require consistent watering and fertilization, so they’re better suited to homeowners who enjoy gardening as a hobby. Many contemporary outdoor entertaining spaces integrate vertical greenery for texture and seasonal color.
Trellises with climbing vines split the difference between speed and permanence. Install a sturdy trellis (metal or rot-resistant cedar, not flimsy lattice), then plant climbers like clematis, climbing hydrangea, or even fast-growing annuals like morning glories. Vines take one to two seasons to fill in, and they need annual pruning to stay tidy.
Freestanding and Permanent Structures
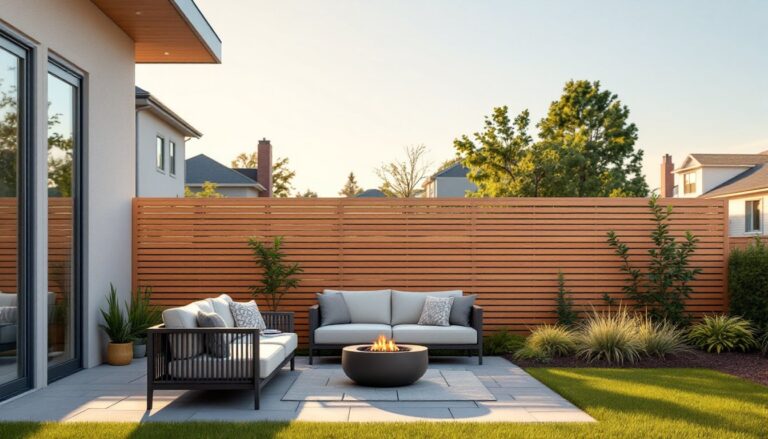
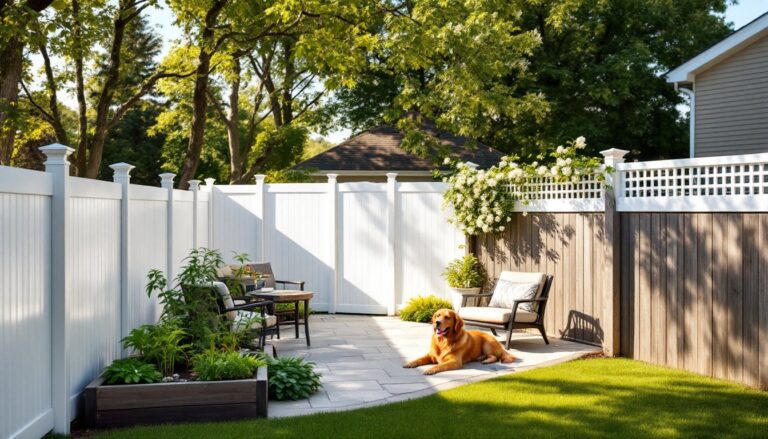
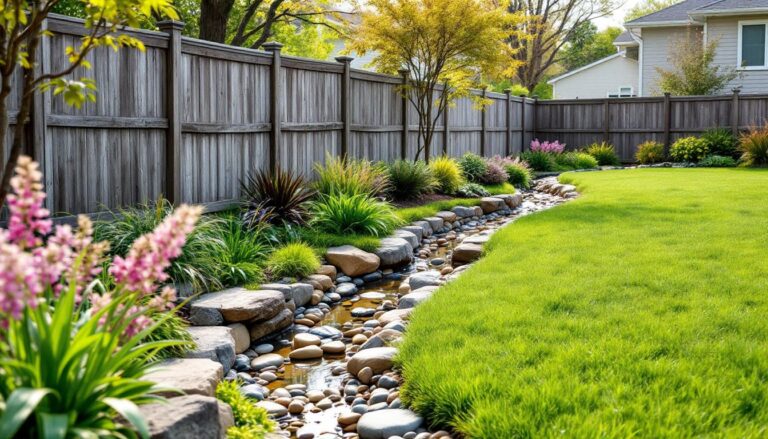
Wood panel screens are the DIY favorite. Standard options include horizontal slat designs, board-and-batten, or louvered panels. Use pressure-treated lumber rated for ground contact if posts are set in concrete, or cedar/redwood for above-ground frames. A typical 6-foot-tall screen uses 4×4 posts spaced 6 to 8 feet apart, with 1×6 or 1×4 slats. Expect to seal or stain every two to three years in wet climates.
Metal screens, steel, aluminum, or corten, deliver a modern look with low maintenance. Laser-cut panels and powder-coated finishes hold up in all weather, though they cost significantly more than wood (often $150 to $400 per panel, not including framing). Corten steel develops a rust patina that stabilizes over time, adding visual warmth to industrial designs.
Composite and vinyl panels mimic wood grain without the upkeep. Quality composite screening (brands like Trex or TimberTech) won’t warp, split, or fade, but the upfront cost rivals metal. Vinyl is lighter and cheaper, though it can look plasticky and may crack in extreme cold.
Outdoor fabric screens suit temporary or seasonal needs. Shade sails, roll-down screens, and tension-mounted panels work well around backyard entertaining setups where flexibility matters. Most outdoor fabrics are solution-dyed polyester or acrylic, rated for UV resistance and mildew. These won’t block 100% of sightlines, but they soften views and reduce glare.
How to Choose the Right Privacy Screen for Your Space
Start by measuring the area that needs screening and identifying the problem. Is it a single window overlooking the patio, or an entire side of the yard? A 4-foot screen might block a seated neighbor’s view, while a second-story window requires 6 to 8 feet of height.
Check local codes before buying materials. Many municipalities limit fence and screen height to 6 feet in side and rear yards, with shorter restrictions (often 3 to 4 feet) near front property lines or street-facing corners. Setback rules may require screens to sit a certain distance from property lines. Homeowners’ associations often have additional design restrictions.
Consider sun and wind patterns. Solid screens block wind but can create turbulence on the downwind side. Slatted or louvered designs allow some airflow, which reduces pressure on posts and feels less claustrophobic. If the screen will shade a garden bed or patio, think about how the sun moves, deciduous vines provide summer shade but let winter light through.
Match the screen to the yard’s style. Horizontal wood slats suit mid-century and modern homes. Lattice and trellises pair well with cottage gardens. Sleek metal panels fit contemporary or industrial aesthetics. Mixing materials works, but it takes a confident hand, combining wood posts with metal infill, for example, or integrating planters into a panel system.
Budget realistically. DIY wood screens typically run $15 to $30 per linear foot for materials (posts, slats, hardware, concrete). Prefab panels from big-box stores start around $50 per 6×6 section but often look generic. Professional installation for composite or metal systems can hit $75 to $150 per linear foot, including labor. Living hedges cost less upfront ($30 to $80 per plant) but take years to mature.
Think about maintenance. Wood needs refinishing. Hedges need trimming and watering. Metal screens need occasional cleaning but little else. Fabric screens need seasonal takedown in areas with heavy snow or ice. Choose based on how much time someone’s willing to invest annually.
DIY Installation Tips and Professional Considerations
Most freestanding screens are within reach of a confident DIYer with basic carpentry skills. Here’s how to approach the project safely and correctly.
Tools and materials checklist:
- Post hole digger or auger (manual or powered)
- Level (4-foot or laser)
- Circular saw or miter saw for cuts
- Drill/driver with exterior-rated screws (stainless steel or coated)
- Quick-set concrete (50 lb. bags, typically one per post)
- Pressure-treated 4×4 posts (or larger for screens over 6 feet)
- Slats, panels, or infill material
- Gravel for post-hole drainage (optional but recommended)
- Safety gear: gloves, safety glasses, ear protection when cutting
Step-by-step installation (wood slat screen):
-
Mark post locations. Use stakes and string to lay out a straight line. Space posts 6 to 8 feet apart for typical slat screens: closer spacing (4 to 6 feet) for heavy panels or tall screens.
-
Dig post holes. Go at least one-third the post height into the ground, 36 inches deep for a 6-foot screen. Check local frost line depth: some regions require 42 inches or more to prevent heaving. Make holes 8 to 10 inches wide.
-
Add gravel base. Pour 3 to 4 inches of gravel into each hole for drainage. This keeps the post end from sitting in standing water.
-
Set and brace posts. Drop the post in, check plumb with a level on two adjacent sides, then brace with scrap lumber staked into the ground. Mix and pour quick-set concrete according to package directions. Recheck level as the concrete sets (usually 20 to 40 minutes).
-
Attach slats or panels. Once concrete has cured (24 hours minimum), attach horizontal rails (2×4s work well) between posts if using individual slats. Secure slats with exterior screws, maintaining consistent spacing, ½ inch to 1 inch gaps for partial privacy, or butted tight for full blockage. For panels, mount them to the posts with brackets or screws driven through pre-drilled holes.
-
Seal or stain. Apply a UV-resistant stain or sealant within a few days of installation. Let lumber dry for a week if it’s wet from the lumberyard.
When to call a professional:
- Screens taller than 6 feet or longer than 20 feet. Wind load calculations become critical, and posts may need to be sunk deeper or anchored with steel brackets.
- Any screen located near a property line or in a front yard. Permit requirements are stricter, and incorrect placement can trigger costly removal orders.
- Installations on slopes or uneven terrain. Stepping the screen or setting posts at varying depths requires more advanced layout skills.
- Integration with existing structures like decks or patios. Attaching screens to ledger boards or concrete may involve lag bolts, masonry anchors, or flashing to prevent water intrusion.
- Living walls with irrigation. Running water lines and installing drainage typically requires a landscaper or irrigation specialist.
Permit requirements vary widely. Some jurisdictions treat freestanding screens under 6 feet as non-structural and permit-exempt: others require a permit for anything over 30 inches. According to guides from home improvement experts, it’s always safer to call the local building department before digging. A 10-minute phone call beats a stop-work order.
For backyard entertainment zones where lighting, sound systems, or built-in seating integrate with the screen, hiring a contractor ensures electrical work meets NEC (National Electrical Code) standards and everything ties together visually.
Conclusion
Backyard privacy screens do more than block views, they create boundaries, reduce noise, and make outdoor spaces feel intentional. Whether someone’s planting a hedge, building a slatted wood frame, or hanging a fabric panel, the right screen turns an exposed yard into a usable retreat. Keep local codes in mind, prep thoroughly, and match the design to the home’s style. The result is a space that feels private, polished, and ready for everything from solo coffee mornings to full-scale entertaining.