Table of Contents
ToggleA well-lit backyard isn’t just about keeping stumbles at bay, it’s about extending the living space long after sunset. Light poles offer a practical, attractive way to illuminate pathways, patios, and seating areas without the complexity of wiring every tree or fence post. Whether someone’s planning evening gatherings or simply wants to enjoy the yard after dark, the right light pole design can set the mood, improve safety, and add serious curb appeal. From classic lamp posts to solar-powered modern designs, there’s a style and installation method for every skill level and budget.
Key Takeaways
- Backyard light pole ideas span three main styles—classic street lamps, modern minimalist designs, and solar-powered options—each suited to different aesthetics, budgets, and installation complexity.
- Light poles provide vertical illumination with 360-degree coverage that defines outdoor zones, improves safety by reducing trip hazards, and offers the flexibility to swap fixture styles without major structural changes.
- Hardwired light poles require calling 811 before digging, running UF-B cable from your electrical panel in a buried PVC conduit, and obtaining local electrical permits, though the weekend DIY effort pays off with reliable, brighter lighting.
- Solar light poles eliminate trenching and permits but deliver only 100–300 lumens and require 4–6 hours of direct daily sunlight; they work best as supplemental pathway lighting rather than primary illumination.
- Multi-function light poles with integrated outlets, speakers, address markers, or mailbox mounts maximize usability and reduce yard clutter while maintaining safety and ambiance.
- LED fixtures rated 3000K–4000K color temperature and 800–1200 lumens balance warmth and functionality for most residential applications without harsh, unwanted light pools.
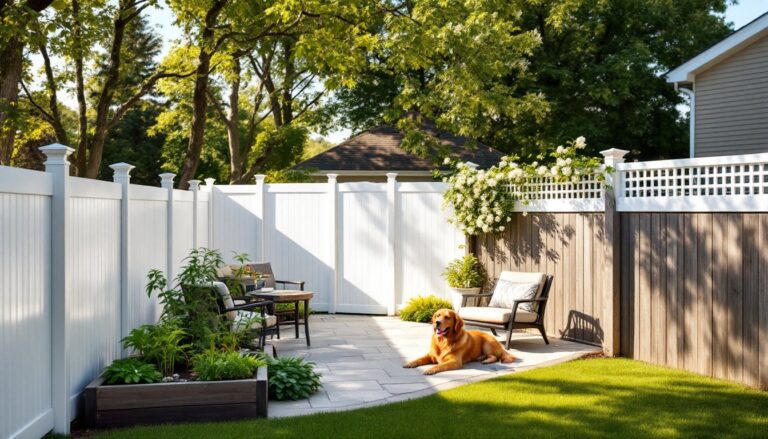
Why Light Poles Are Essential for Your Backyard
Light poles deliver targeted illumination exactly where it’s needed, along walkways, near seating areas, or at property boundaries. Unlike string lights or wall-mounted fixtures, poles provide vertical reach and 360-degree coverage, making them ideal for open spaces.
Safety is the primary driver. Properly lit pathways reduce trip hazards, and illuminated perimeters deter unwanted visitors. Many municipalities recommend a minimum of 1.5 foot-candles for pedestrian pathways, though homeowners can adjust based on layout and personal preference.
Light poles also define zones. A post near the fire pit creates an anchor point for evening gatherings, while a row along the driveway guides guests without over-lighting the entire yard. They’re especially useful in yards lacking mature trees or structures for mounting fixtures.
Finally, they’re permanent but flexible. Once the underground conduit is in place, swapping fixture styles is straightforward. That’s a major advantage over hardscaped lighting that requires jackhammering to relocate.
Classic Street Lamp Style Light Poles
Street lamp-style poles bring a touch of vintage charm without feeling dated. These fixtures typically stand 7 to 9 feet tall and feature a single- or multi-globe top, often with ornate detailing on the post and finial.
Most classic designs use aluminum or cast iron construction. Aluminum is lighter and rust-resistant, making it easier to install and maintain. Cast iron offers heft and authenticity but requires periodic repainting to prevent corrosion, especially in humid or coastal climates.
For authentic appeal, look for fixtures with a black powder-coat finish and seeded or frosted glass globes. Clear glass works well in traditional settings, but frosted diffuses the light more evenly and reduces glare, important if the pole sits near a patio or deck.
Wiring a classic lamp post requires running UF-B (underground feeder) cable from the house panel or an existing outdoor circuit. Typical runs demand 12-gauge wire for 15-amp circuits or 10-gauge for 20-amp. Always call 811 before digging to locate buried utilities.
These poles pair beautifully with brick or stone homes, and they’re a natural fit for homeowners looking to match backyard entertaining spaces with refined, timeless lighting.
Modern Minimalist Light Pole Designs
Minimalist poles strip away ornamentation in favor of clean lines and geometric forms. Think slender square or cylindrical posts in matte black, brushed aluminum, or even concrete finishes. Heights range from 6 to 10 feet, with integrated LED heads that sit flush or project at right angles.
Many modern designs use direct-burial posts that eliminate the need for a concrete footing, though this approach works best in stable soil. In loose or sandy ground, a poured footing with anchor bolts is still the safer bet.
LED fixtures dominate this category. Look for models rated at 3000K to 4000K color temperature, warm enough to feel inviting, cool enough to highlight architectural details. Lumens vary, but 800 to 1200 lumens per pole works well for most residential applications without creating harsh pools of light.
Some fixtures include photocell sensors or smart controls, allowing automatic on/off scheduling or dimming via app. These features add cost, expect to pay $150 to $400 per fixture, but they’re worth it for tech-forward homeowners who want seamless integration with existing smart home systems.
Minimalist poles shine in contemporary landscapes with gravel beds, steel planters, or crisp concrete patios. They’re also easier to DIY than ornate models, since the streamlined design leaves less room for installation mishaps.
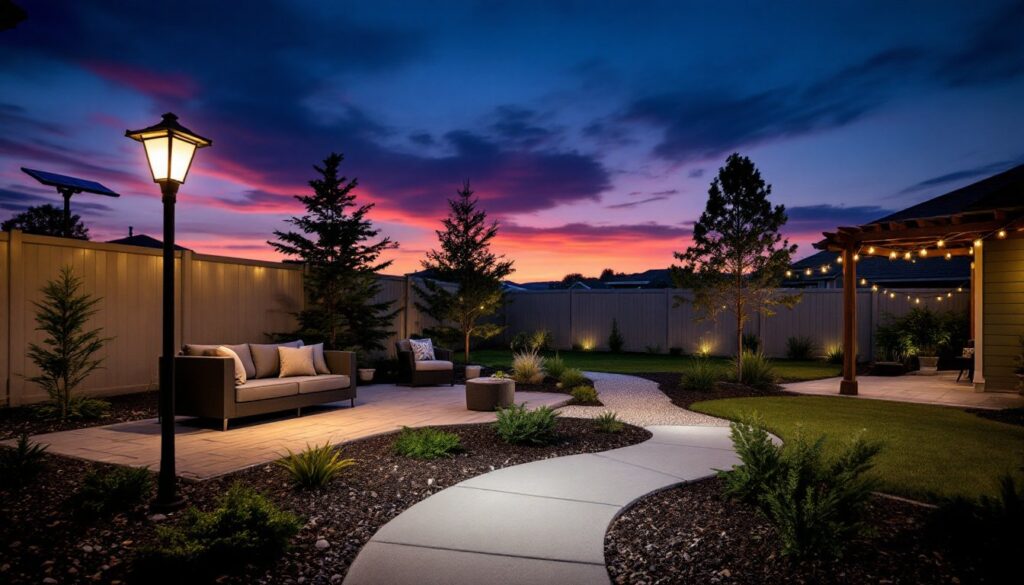
Solar-Powered Light Pole Options
Solar poles eliminate trenching and electrical permits, making them the fastest path to a lit backyard. Each unit includes a photovoltaic panel (often integrated into the fixture head), a rechargeable battery, and an LED array that activates at dusk.
Performance hinges on sunlight exposure. Panels need 4 to 6 hours of direct sun daily to maintain a full charge. Shaded yards or locations under tree canopies will see dimmer output and shorter runtime, sometimes as little as 3 to 4 hours per night instead of the advertised 8 to 10.
Most solar poles deliver 100 to 300 lumens, which is adequate for accent or pathway lighting but falls short of the brightness needed for task areas like grills or workbenches. For more information on optimizing outdoor spaces, design strategies can help balance aesthetics and function.
Battery life is the weak link. Lithium-ion cells last 2 to 3 years before needing replacement, and not all models use standard sizes. Check whether replacement batteries are readily available before committing to a specific brand.
Installation is straightforward: dig a hole, insert the pole, backfill, and tamp. Some models include a ground stake for temporary placement, but a buried post offers better stability in windy conditions. Solar poles work best as supplemental lighting rather than primary sources, and they’re ideal for renters or anyone avoiding the cost and complexity of running new circuits.
DIY Light Pole Installation Tips
Installing a light pole is within reach for most DIYers, but it’s not a one-afternoon project. Plan on a weekend for a proper job, and don’t skip the prep.
Materials and Tools:
- Post fixture and mounting hardware
- UF-B cable (12- or 10-gauge, depending on circuit load)
- PVC conduit (3/4-inch or 1-inch)
- Concrete mix (one 50-pound bag per post)
- Post hole digger or auger
- Wire nuts, electrical tape, and weatherproof wire connectors
- GFCI-protected outdoor outlet or breaker
- Voltage tester, torpedo level, and tape measure
Step-by-Step:
-
Call 811 at least two business days before digging. Utility locates are free and legally required in most jurisdictions.
-
Dig the trench for conduit. Depth depends on local codes, but 18 inches is common for low-voltage and some 120V residential runs. Check the NEC and local amendments, some areas require 24 inches for line-voltage circuits.
-
Set the post footing. Dig a hole 12 to 18 inches in diameter and 24 to 36 inches deep, depending on pole height and soil type. Insert the post, level it in two directions, then fill with concrete. Brace the post with scrap lumber until the concrete cures (typically 24 to 48 hours).
-
Run the conduit from the power source to the pole base. Use PVC sweeps instead of sharp elbows to make pulling wire easier. Secure conduit to the trench bottom with stakes or sand backfill to prevent shifting.
-
Pull the wire once conduit is in place. Leave 6 to 8 inches of slack at each end for connections. Use a fish tape for longer runs.
-
Make connections inside a weatherproof junction box at the pole base. Match wire colors: black to black (hot), white to white (neutral), green or bare copper to ground. Use wire nuts rated for outdoor use and wrap with electrical tape. Homeowners designing multi-use spaces often find that outdoor entertainment areas benefit from dedicated lighting circuits.
-
Attach the fixture to the post per manufacturer instructions. Most use a threaded pipe or mounting collar. Route the fixture leads through the post and connect to the supply wires.
-
Test before backfilling. Turn on the breaker and check for proper operation. If everything works, backfill the trench in 6-inch lifts, tamping each layer.
Safety Notes:
- Wear gloves and safety glasses when working with concrete and cutting conduit.
- Always turn off power at the breaker before making connections.
- If the circuit isn’t already GFCI-protected, install a GFCI breaker or receptacle. Outdoor lighting circuits require ground-fault protection per NEC Article 210.8.
Permit Requirements:
Most jurisdictions require an electrical permit for new 120V circuits. Low-voltage systems (12V or 24V) often don’t, but check locally. Inspectors typically want to see the trench and connections before backfilling.
Creative Multi-Function Light Pole Ideas
Why stop at illumination? Multi-function poles combine lighting with other outdoor amenities, turning a single fixture into a backyard workhorse.
Poles with Integrated Outlets provide power for speakers, phone chargers, or holiday decorations. Look for models with weatherproof GFCI receptacles built into the post base. These are especially handy near outdoor hangout zones where guests gather.
Address Marker Poles pair a light fixture with a house number plaque or backlit address panel. This combo improves visibility for guests and emergency responders while reducing clutter, no need for a separate address post.
Flag Poles with Lighting mount a downward-facing fixture to illuminate a flag at night, as required by U.S. Flag Code if flying 24/7. Some designs include a solar spotlight clipped to the pole, while others use a traditional wired fixture. Either way, it’s a patriotic and practical addition to front yards.
Poles with Built-In Speakers cater to music lovers. Weatherproof Bluetooth speakers mount inside or atop the post, delivering ambient sound without visible wires or bulky equipment. Pair these with entertaining themes for movie nights or parties.
Mailbox Light Poles merge a post-mounted mailbox with a fixture head. The light helps with mail retrieval after dark and adds a welcoming glow to the curb. For creative design ideas, resources like Hunker offer inspiration across a range of home projects.
DIY Hybrid Options are also worth exploring. A standard pole can be retrofitted with hooks for hanging planters, a small shelf for potted herbs, or even a weatherproof outlet box. Just make sure any add-ons don’t block the light output or create top-heavy balance issues.
Conclusion
Light poles offer a flexible, high-impact way to extend backyard usability well into the evening. Whether going classic, modern, or solar, the key is matching the fixture style to the space and installing it correctly the first time. With the right prep, a weekend DIYer can tackle most installations, and the payoff, safer pathways, better ambiance, and a more inviting yard, lasts for years. For additional outdoor design guidance, The Spruce provides comprehensive how-tos and tips.