Table of Contents
ToggleA dedicated workspace changes everything for artists. Moving the mess, the fumes, and the inspiration out of a cramped spare bedroom and into a backyard studio opens up possibilities most creators don’t realize they’re missing. Whether it’s painting, pottery, woodworking, or mixed media, having a separate structure designed for creative work eliminates the daily setup-and-teardown cycle that kills momentum. Plus, building codes for accessory structures are often more forgiving than indoor renovations. With planning, a backyard art studio can be built or converted in weeks, not months, and it adds functional square footage without touching the main house’s footprint.
Key Takeaways
- A backyard art studio eliminates the daily setup-and-teardown cycle that disrupts creative momentum by providing a dedicated workspace separate from your home.
- Backyard art studio ideas work best with proper planning for natural light—north-facing windows provide soft, indirect light ideal for painting, while concrete or sealed flooring handles spills and mess cleanly.
- Most jurisdictions allow small accessory structures under 120 square feet without permits, and a functional 10×10 studio can be built for under $3,000 using budget-friendly methods like container conversions or pole barn construction.
- Essential features like 20-amp electrical circuits, cross-ventilation or exhaust fans, and R-13 minimum wall insulation ensure your studio is safe, comfortable, and usable year-round.
- Maximize usability with wall-mounted storage using French cleats and heavy-duty shelving, position your primary workbench near the largest window, and use flexible modular furniture that adapts as your creative needs change.
- Concrete slab foundations ($4-$8 per square foot) offer the best longevity, while prefab studio kits start around $10,000 but deliver faster than custom builds if you need speed over total customization.
Why Build an Art Studio in Your Backyard?
The primary advantage of a backyard studio is separation. Art supplies, unfinished projects, and messy processes stay contained. No more clearing the dining table before dinner or worrying about paint splatters on carpet.
Soundproofing becomes simpler in a detached structure. Woodworkers can run table saws without disturbing the household. Sculptors using hammers and chisels get the noise isolation they need. The distance between studio and living space reduces distractions in both directions.
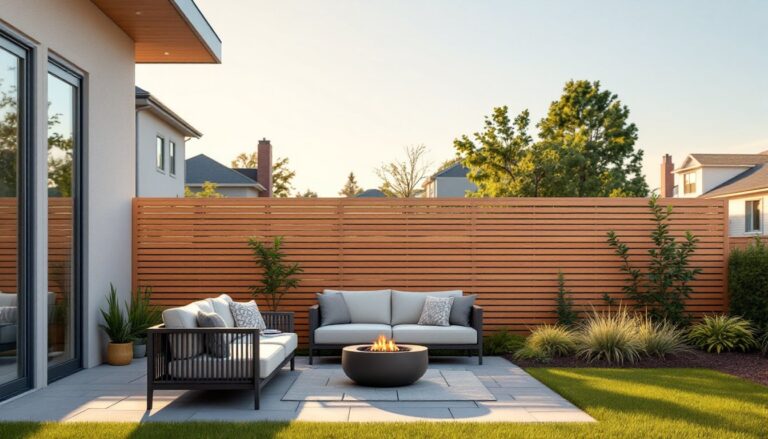
Natural light hits differently in a standalone building. Windows can be placed on multiple walls without worrying about interior room layouts or privacy concerns. North-facing windows provide consistent, indirect light that painters prefer, while south-facing glass maximizes solar gain in colder months.
Zoning and permitting vary widely, but many jurisdictions allow accessory structures under 120 square feet without a permit, and buildings under 200 square feet often qualify as non-habitable structures with simpler requirements. Check local codes before breaking ground. Electrical work typically requires a licensed electrician and inspection, even for small studios.
Choosing the Right Structure for Your Backyard Studio
The foundation dictates longevity and cost. Concrete slab foundations offer the best stability and moisture protection, running $4-$8 per square foot for materials and DIY labor. Gravel pads with pressure-treated skids work for lighter structures and cost half as much, but they’re not suitable for heavy equipment or areas with frost heave.
For frame construction, standard 2×4 studs on 16-inch centers handle most single-story studios. Upgrade to 2×6 framing if planning serious insulation in cold climates, the extra depth allows R-19 to R-21 batts instead of the R-13 that fits in 2×4 walls. Wall sheathing should be 7/16-inch or 1/2-inch OSB, with house wrap and exterior siding appropriate to local weather.
Roofing depends on the pitch and the artist’s tolerance for maintenance. Asphalt shingles are the most economical and DIY-friendly. Metal roofing costs more upfront but lasts 40+ years and sheds snow effectively. Avoid flat roofs unless installing a proper membrane system with adequate drainage, standing water is the enemy.
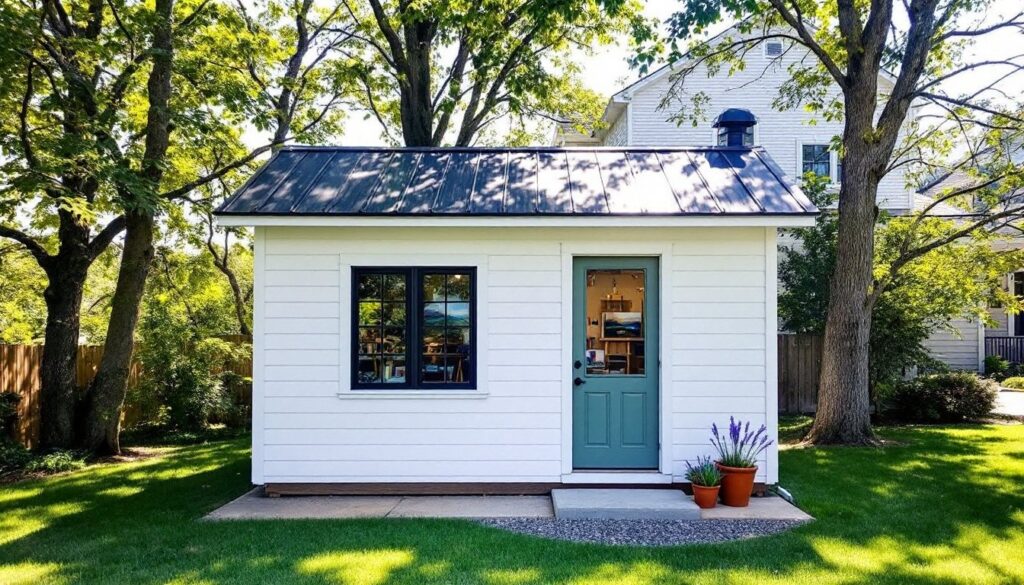
Shed Conversions and Prefab Studios
Prefab sheds from home centers start around $2,000 for an 8×10 structure, but they’re often built with thin OSB siding and minimal framing. They work as storage but need reinforcement for year-round studio use. Adding insulation, drywall, and upgraded windows can double the initial cost.
Converting an existing shed means assessing the framing first. Pull back a section of siding to confirm stud spacing and size. Many budget sheds use 2×3 framing on 24-inch centers, which won’t support additional interior finishes without reinforcement. If the bones are solid, the conversion is straightforward: insulate, run electric, upgrade windows, and finish walls.
Kit studios from companies like Studio Shed or Tuff Shed come pre-engineered with better materials and insulation options. Prices start around $10,000 for a 10×12, delivered and assembled. They’re faster than site-built but less customizable. For artists who need specific workshop layouts and storage, a custom build often makes more sense.
Essential Design Features for a Functional Art Studio
Electrical planning should happen before framing. A dedicated 20-amp circuit handles most studio needs, lighting, a space heater, and small tools. If running a kiln, welder, or large HVAC unit, a 240-volt circuit is required. Hire a licensed electrician for anything beyond basic receptacle installation. NEC code requires GFCI protection on all outlets in damp or outdoor-adjacent spaces.
Ventilation isn’t optional for artists working with solvents, resins, or aerosols. At minimum, install operable windows on opposite walls for cross-ventilation. Better: add an exhaust fan rated for 80-150 CFM to actively pull fumes out. For spray painting or airbrushing, a spray booth with inline ducting vented to the exterior is the safest approach.
Flooring needs to handle abuse. Sealed concrete is durable, easy to clean, and won’t warp from spills. For comfort underfoot, add interlocking foam tiles or rubber gym mats in standing work areas. Skip carpet entirely, it traps dust and paint particles. Luxury vinyl plank (LVP) offers a middle ground: water-resistant, warmer than concrete, and replaceable if damaged.
Climate control extends the studio’s usability. Insulation is the first step. Walls should hit R-13 minimum, with R-30 to R-40 in the ceiling. Mini-split heat pumps are ideal for small spaces, they heat and cool efficiently without ductwork. Prices start around $1,200 for a DIY-installed 9,000 BTU unit. For occasional use, a portable electric heater and box fan might suffice, but productivity drops when the space is uncomfortable.
Natural Lighting and Window Placement
North-facing windows provide soft, indirect light throughout the day, ideal for painting and color-sensitive work. South-facing windows deliver maximum daylight but can cause glare and heat buildup. If going south, plan for overhangs or exterior shades to control intensity.
Window size matters more than quantity. One large 3×5-foot window delivers more usable light than three small 2×2 casements. Clerestory windows placed high on walls bring in overhead light without sacrificing wall space for storage or hanging work.
Skylights flood a space with natural light but require careful installation to prevent leaks. Use a curb-mounted skylight rather than a deck-mounted unit, curbs sit higher and channel water more effectively. Budget $500-$1,000 per skylight installed, and expect to re-seal the flashing every 10-15 years.
For task lighting, combine overhead LED shop lights (4,000-5,000K color temperature) with adjustable swing-arm lamps at workstations. Artists working with color should avoid warm (3,000K) bulbs, which shift color perception. Many creators working on detailed projects find the step-by-step lighting plans helpful for fine-tuning their setup.
Budget-Friendly Backyard Art Studio Ideas
Shipping containers offer a weatherproof shell for $2,000-$4,000 delivered. A 20-foot container provides 160 square feet of interior space. Insulation, windows, and electrical add another $3,000-$5,000 in materials for a DIY build. Cut openings with an angle grinder and metal-cutting discs, wear hearing protection and a full-face shield, as sparks and metal shards fly aggressively.
Pole barn construction skips the need for a foundation. Set pressure-treated 6×6 posts in concrete-filled holes and frame walls between them. A 12×16 pole barn studio costs $4,000-$6,000 in materials. It’s faster than conventional framing but requires accurate post placement, off by an inch and the whole structure racks.
Repurposed materials cut costs if sourced carefully. Salvaged windows work fine if the glass isn’t cracked and the frames aren’t rotted. Reclaimed lumber can frame interior walls, but avoid it for structural elements unless certain of its grade and history. Check local classifieds and salvage yards, windows, doors, and siding often appear for a fraction of retail.
For artists willing to work small, a 10×10 studio built on skids can be completed in weekends for under $3,000, including materials, basic insulation, and a few windows. It won’t have plumbing or a bathroom, but it’s a functional workspace that doesn’t require a permit in many areas.
Another option gaining traction among DIYers is converting a large garden shed into a light-duty studio. Those comfortable with basic framing and finishing techniques can achieve a fully functional space for a few thousand dollars by doing the work themselves.
Interior Layout and Storage Solutions
Work surface placement drives the rest of the layout. Position the primary workbench or easel near the largest window, ideally with a view to reduce cabin fever. Leave 36-48 inches of clearance around work areas for movement and access.
Wall-mounted storage saves floor space. Install heavy-duty shelving brackets rated for 50+ pounds and use 3/4-inch plywood or solid wood shelves. French cleat systems offer flexibility, hang tool holders, shelves, or bins on interlocking cleats without drilling new holes every time.
Pegboard is inexpensive and endlessly reconfigurable. Use 1/4-inch pegboard with metal hooks, not plastic, they hold heavier tools without sagging. Mount pegboard on 1×2 furring strips so hooks have clearance behind the board.
Rolling storage works for supplies that need to move. Build or buy a tool cart with locking casters. A basic cart made from 2×4 framing and 3/4-inch plywood costs under $50 in materials and rolls anywhere in the studio.
For artists storing canvases, prints, or large materials, vertical dividers keep items organized without taking up floor space. Build a simple rack using 1×4 uprights with 1×2 slats spaced every 6 inches. It holds flat materials upright and accessible.
Dust management is critical for wood and mixed-media artists. A shop vacuum with a HEPA filter captures fine particles. For woodworkers, a dust collection system with 4-inch ducting connected to stationary tools keeps the air breathable. Budget systems start around $200: higher-end units with cyclone separators run $500+.
Finally, consider modular furniture that adapts as creative needs change. Freestanding workbenches, adjustable-height tables, and movable storage units allow the layout to evolve without permanent alterations. A flexible studio stays functional for years, no matter how the work shifts.