Table of Contents
TogglePlanning a backyard wedding means working with what you’ve got, lawn, patio, trees, and turning it into a space that feels intentional and polished. The right decor makes the difference between “we’re getting married in the yard” and “this is an actual venue.” Unlike renting a ballroom or barn, a backyard demands DIY problem-solving: how to define spaces, manage lighting after sunset, and create focal points without permanent structures. This guide walks through the practical decor elements that elevate a backyard wedding, from lighting rigs and structural backdrops to seating logistics and table setups that won’t tip over on uneven ground.
Key Takeaways
- Layer multiple lighting sources—string lights, lanterns, and uplighting—to create a romantic atmosphere and extend usable hours past sunset in your backyard wedding decor setup.
- Build stable ceremony backdrops and arches from pressure-treated wood with concrete footings or sandbags to anchor the space and give guests a focal point without permanent structures.
- Choose cohesive seating arrangements like white resin folding chairs or wood benches, spaced 18–24 inches apart, and place them on plywood or event flooring to prevent sinking legs and uneven seating.
- Design low (under 14 inches) or tall (over 24 inches) centerpieces using mason jars, lanterns, and foraged greenery to keep conversations unblocked while adding texture and warmth.
- Prep your lawn thoroughly by mowing, edging, leveling uneven terrain, and adding uplighting or outdoor rugs to define spaces and enhance visual appeal after dark.
- Incorporate DIY signage, directional markers, and personal touches like photo displays to guide guests and reinforce your aesthetic without the cost of a professional venue.
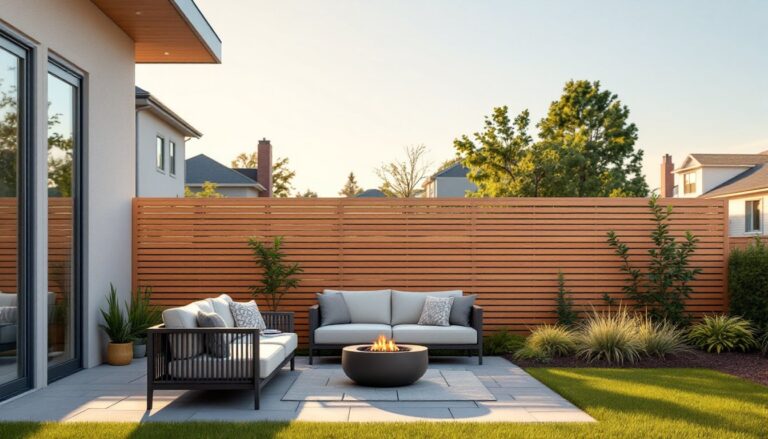
Creating a Romantic Atmosphere With Lighting
Lighting sets the mood and extends usable hours past sunset. For backyard weddings, that means layering multiple sources, overhead, ambient, and accent, to avoid dark pockets and flat illumination.
String lights are the workhorse. Use Edison-style bulbs on black or brown cord for a warm glow that doesn’t read as Christmas. Run them overhead between posts, trees, or temporary supports like 4×4 pressure-treated uprights anchored with concrete-filled buckets. Space bulbs 12–18 inches apart for even coverage. For a 20×30-foot area, plan on at least 100 feet of lights and access to multiple outdoor outlets or a generator.
Lanterns and votives add ground-level warmth. Line walkways with battery-operated LED votives in glass holders (real candles blow out and present fire risk on grass). Hang lanterns from shepherd’s hooks or tree branches using galvanized wire or zip ties, just pad the wire with cloth tape to avoid bark damage. Lanterns also work as centerpiece bases.
For drama, use uplighting on trees, arbors, or the house exterior. Battery-powered LED spotlights with adjustable color temperature (aim for 2700–3000K warm white) can be staked into the ground. Avoid blue-toned LEDs, which photograph poorly and feel sterile.
Run all electrical through outdoor-rated extension cords and use GFCI-protected outlets. If your circuit breaker trips mid-reception, the romantic mood dies fast. Test your lighting setup at dusk at least a week before the event.
DIY Ceremony Backdrops and Arches
A backdrop anchors the ceremony and gives guests something to focus on besides the neighbor’s fence. Building one doesn’t require advanced carpentry, but it does need stable footing and weather resistance.
Simple wooden arches are built from two vertical 4×4 posts (8 feet tall, set 6 feet apart) with a horizontal 2×6 crossbeam lag-bolted at the top. Sink the posts 18–24 inches into the ground or use post anchors with concrete if you can’t dig. If digging isn’t an option, build a freestanding base using two 2×4 feet made from 2×10 boards, weighted with sandbags. Paint or stain the wood a few days ahead so it’s dry for draping.
Drape the frame with sheer fabric (10–15 yards of voile or chiffon), secured with zip ties or upholstery staples on the backside. Add greenery, garland, eucalyptus branches, or even clipped hedge trimmings wired to the frame with floral wire or fishing line. Fresh greenery wilts fast in heat, so install it the morning of or use faux garland (higher-end faux looks real from six feet away).
Triangular or hexagonal arbors built from dimensional lumber offer a modern look. Use a miter saw for clean 30- or 60-degree cuts on 2x2s, then join with wood glue and 2.5-inch screws. Stain in walnut or leave raw for a Scandinavian vibe.
If rain threatens, have a tarp or canopy backup. An arch won’t shed water. A simple 10×10 pop-up canopy (legs staked or weighted with 40-pound sandbags) keeps everyone dry and photographs better than huddling under umbrellas.
Seating Arrangements That Blend Style and Comfort
Mismatched folding chairs scream “borrowed from the church basement.” Cohesive seating takes planning, but it’s worth it for the look and guest comfort.
Folding chairs are the practical choice. White resin or natural wood-grain folding chairs (available from rental companies or big-box stores) look clean and photograph well. Budget around $3–6 per chair rental, or buy them if you’re hosting under 50 guests, they’re $15–25 each new. Add chair covers or sashes in your wedding colors if you want polish, but skip this if you’re on a tight timeline: they’re fiddly to install.
For a more relaxed vibe, mix benches (built from 2×10 or 2×12 boards on 4×4 legs) with a few chairs. A 6-foot bench seats three adults comfortably. Sand the edges, apply exterior stain, and top with outdoor cushions or folded blankets. Benches also double as cocktail hour seating.
Layout matters. Rows should be 18–24 inches apart (enough space for knees and purses). Ceremony seating layouts for outdoor events often work best in a semicircle or chevron rather than straight rows, which improves sightlines and feels less formal.
Set chairs on plywood sheets or rented event flooring if your lawn is soggy or uneven. Sinking chair legs ruin the ceremony photos and annoy guests. For evening receptions, add a few outdoor rugs under seating zones, they define space and add warmth, both visual and literal.
Table Decor and Centerpiece Ideas
Tables are where guests spend most of their time, so the decor here carries weight. Keep centerpieces low (under 14 inches) or very tall (over 24 inches) so conversation isn’t blocked.
Tablecloths are essential. Bare folding tables look unfinished. Use polyester or cotton-blend linens in neutral tones (ivory, taupe, charcoal) that hide wrinkles and wash easily. They drape better than paper and won’t blow away. Secure them with tablecloth clips if there’s any breeze. Runners in burlap, lace, or gauze add texture without full coverage.
Centerpieces can be built from mixed materials. Try:
- Mason jars or glass cylinders filled with wildflowers, grocery store blooms, or even herbs like rosemary and lavender. Wrap jars with twine or lace ribbon for texture.
- Wooden boxes or crates (stained or painted) filled with potted succulents, which double as guest favors.
- Lanterns grouped in threes with pillar candles or LED candles inside. Real candles need windproof housings.
- Foraged greenery clipped from your yard, ferns, magnolia branches, or ivy, laid flat as a runner with votives scattered along it.
Keep arrangements stable. A gust or a bumped elbow shouldn’t send a vase tipping. Use floral foam or stones to weight arrangements in lightweight containers. For evening receptions, many homeowners rely on ambient lighting from candles and lanterns to complement overhead string lights.
Don’t forget table numbers or names. Print them on cardstock and mount in small picture frames or clip to wooden stakes. Place them where servers and guests can see them easily.
Personalizing Your Space With Signage and Details
Signage directs traffic, labels food or drinks, and reinforces your aesthetic. It’s also one of the easiest DIY wins.
Welcome signs greet guests at the entrance. A simple A-frame chalkboard (available at craft stores for $20–40) works, or build one from 1×4 pine and a sheet of chalkboard-painted plywood. Letter it with chalk markers (they don’t smudge like regular chalk) or print a design on adhesive vinyl.
Directional signs help if parking or facilities are spread out. Mount them on stakes (use 1×6 boards and 2×2 posts, painted and lettered) and drive the posts into the ground with a mallet. Add arrows.
Bar and buffet signs clarify offerings. Small acrylic or wood placards on easels label drinks, appetizers, or desserts. Print labels on cardstock, slide them into 4×6 picture frames, and prop them up. This also works for seating charts.
Details like place cards, menus, and favors tie the look together. Print them on matching cardstock using a home printer and a template. Use escort cards (one per guest) rather than a full seating chart poster if your guest count is under 75, it’s easier to adjust last-minute.
For a personal touch, display photos of the couple in mismatched frames on a side table, or hang Polaroids on twine with mini clothespins. Just keep paper goods out of direct sun and wind: weight everything down or secure it with outdoor entertaining accessories like clips and bases.
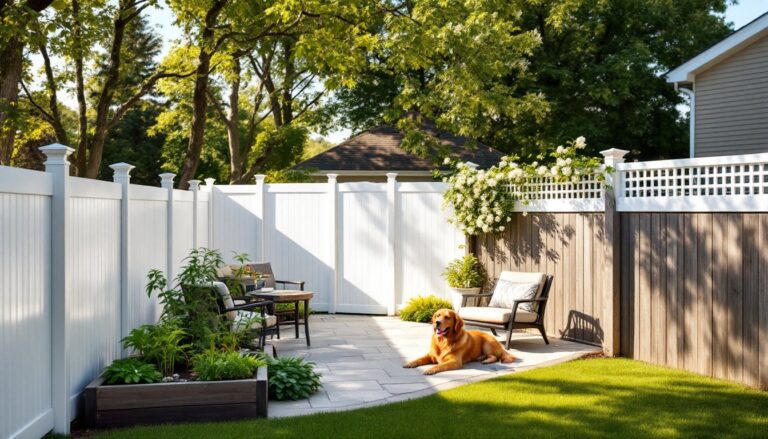
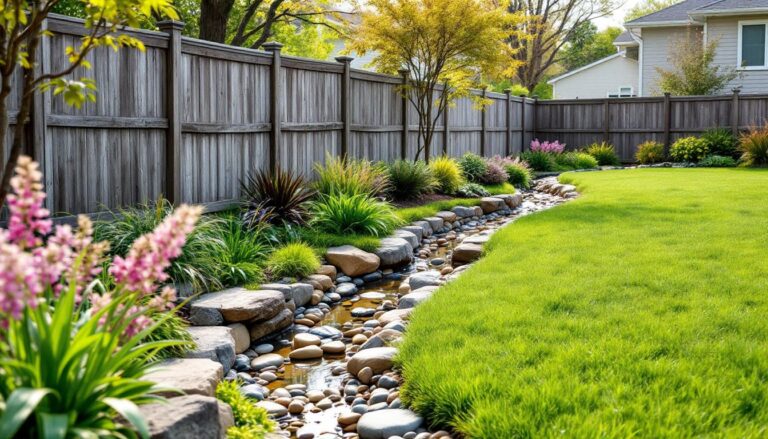
Working With Your Backyard’s Natural Features
The best backyard weddings lean into what’s already there, trees, gardens, fences, rather than fighting them.
Trees are natural anchor points. String lights between trunks, hang lanterns from low branches, or frame your ceremony under a mature oak or maple. For a large backyard celebration setup, position the ceremony with the tree as a backdrop. Just check for dead branches and trim them a week ahead, falling limbs are a liability.
Fences and walls provide structure for draping fabric, hanging signs, or installing a flower wall. Use removable hooks or wire to avoid permanent damage. A plain wood fence can be dressed up with outdoor decor elements like greenery garland, string lights woven vertically, or clusters of lanterns.
Garden beds add color without extra work, but they can also create trip hazards at night. Edge them with solar pathway lights or LED rope light to define borders. If your garden is overgrown or sparse, it’s better to redirect attention elsewhere than try to fix it last-minute.
Lawn condition matters. Mow two days before (not the day of, clippings stick to shoes and dresses), edge walkways, and fill low spots with topsoil if water pools there. If your grass is patchy, consider renting artificial turf runners for high-traffic areas or laying down outdoor rugs.
Slopes and uneven terrain need managing. Level out the ceremony and dining areas with rented platforms or plywood underlayment topped with outdoor carpet. Guests shouldn’t feel like they’re tipping sideways while eating. Many find inspiration in seasonal outdoor design ideas for working with natural features year-round.
Conclusion
Backyard wedding decor isn’t about recreating a ballroom, it’s about making your space work harder with strategic lighting, stable structures, and thoughtful details. Build what you can, rent what makes sense, and don’t skip the prep work. Level the ground, test your electric, and secure everything against wind. The result is a venue that feels both personal and polished, without the rental hall price tag.